
Regular oil changes are crucial for maintaining the health and performance of your car. They help keep your engine running smoothly, prevent problems, and can even extend the lifespan of your vehicle. While some might consider a DIY approach, it’s always best to leave this task to professional technicians. In this blog, we’ll guide you through the process of getting a professional oil change service.
Oil Change Tools and Supplies
A professional oil change service involves the use of specialized tools and supplies to ensure the job is done right. Here’s what’s typically needed:
- Oil: The correct type and grade of oil for your vehicle, as recommended by the manufacturer.
- Oil Filter: A high-quality oil filter is used to replace the old one.
- Wrench Set: Professional-grade wrenches for removing the oil drain plug and filter.
- Oil Drain Pan: A container designed to catch and hold the used oil.
- Funnel: To pour the new oil without spilling.
- Hydraulic Lift: Instead of a car jack and stands, professionals use a hydraulic lift to safely raise the vehicle.
- Protective Gear: Technicians wear gloves and safety glasses to protect against oil and debris.
- Rags and Towels: For cleaning up any spills and ensuring the work area is tidy.
Safety Precautions
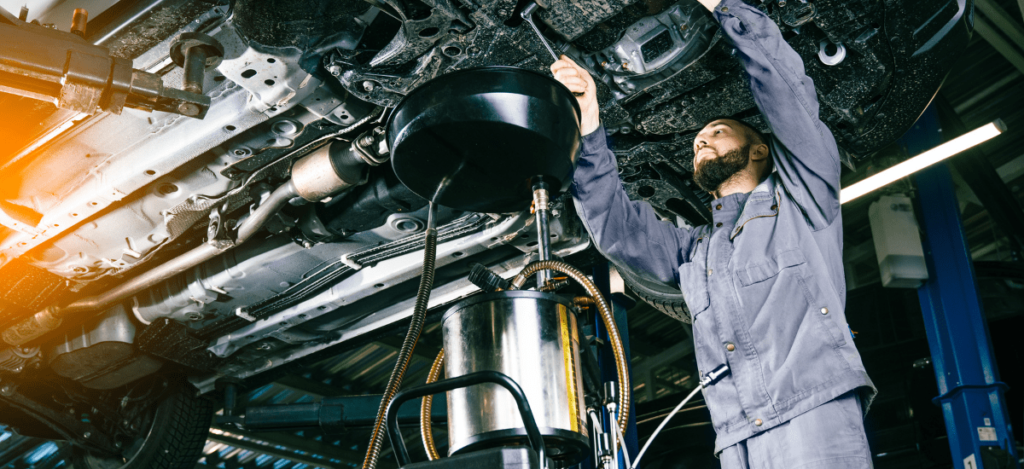
At an auto repair shop, safety is paramount. Technicians work in well-ventilated environments, use hydraulic lifts to securely raise vehicles, and follow strict safety protocols to protect both themselves and your vehicle.
Preparing Your Vehicle
- Warm Up the Engine: The engine is warmed up for a few minutes to ensure the oil flows better and drains completely.
- Lift the Vehicle: A hydraulic lift is used to raise the vehicle safely and provide easy access to the underside.
- Locate the Oil Drain Plug and Filter: Technicians are trained to quickly locate these components based on the make and model of your car.
Draining the Old Oil
- Position the Drain Pan: The oil drain pan is positioned under the drain plug.
- Remove the Drain Plug: The drain plug is loosened and removed using a professional-grade wrench. The old oil drains completely into the pan.
- Clean and Reinstall the Drain Plug: The drain plug is cleaned and securely reinstalled once the oil has drained.
Proper Disposal of Old Oil
Used motor oil is considered hazardous waste. Professional auto repair shops follow strict regulations to ensure it is properly stored and disposed of or recycled.
Replacing the Oil Filter
- Remove the Old Filter: Using a specialized oil filter wrench, the old filter is carefully removed.
- Prepare the New Filter: A small amount of new oil is applied to the gasket of the new filter to ensure a proper seal.
- Install the New Filter: The new filter is hand-tightened and given an extra turn to secure it.
Adding New Oil
- Check the Manual: The correct amount and type of oil are determined based on the vehicle’s specifications.
- Pour the Oil: Using a funnel, the new oil is poured into the engine slowly to prevent spills.
- Check the Oil Level: The oil level is checked using the dipstick and adjusted if necessary.
Checking for Leaks
After the oil is added, the engine is started and run for a few minutes. Technicians check for leaks under the vehicle and near the oil filter. If any leaks are found, components are rechecked and tightened.
Post-Oil Change Check
- Run the Engine: The engine runs for a few minutes to circulate the new oil.
- Check the Oil Level Again: The oil level is rechecked and adjusted if needed.
- Reset the Oil Change Indicator: The oil change indicator is reset according to the manufacturer’s instructions.
Common Mistakes to Avoid
- Overfilling or Underfilling Oil: Using the precise amount of oil specified by the manufacturer.
- Using the Wrong Type of Oil: Ensuring the correct oil type is used for your vehicle.
- Forgetting to Replace the Oil Filter: Always replace the oil filter during an oil change.
- Not Tightening Components Properly: Ensuring all components are securely tightened to prevent leaks.
Why You Shouldn’t DIY Oil Change
- Complex Vehicles: Some cars, especially luxury or high-performance models, have complex systems that are best handled by professionals.
- Lack of Tools or Space: Professional auto repair shops have the right tools and a safe environment.
- Persistent Issues: For persistent problems like leaks or unusual noises, professional diagnosis is essential.